From Fire Water Restoration To Mold Remediation

Mold Remediation and Removal Costs

If mold removal were as simple as Kung Fu fighting, then there’s no doubt about it, you would have it nailed. But, unfortunately, cost is a large factor when considering mold remediation and the size of your bill often depends on the extent of the infestation.

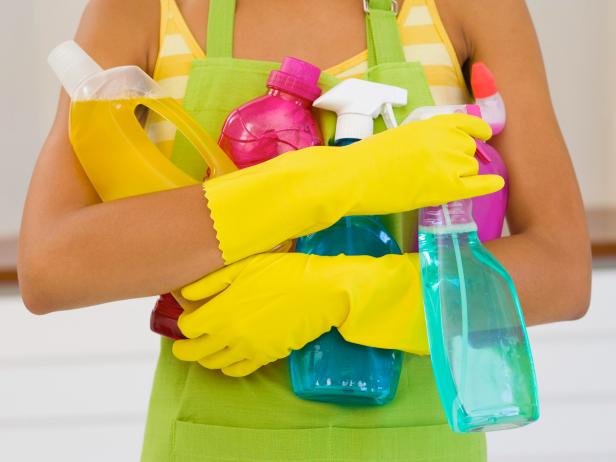
The good news is that if the area is small, then you can typically treat it for a small investment in some solid cleaning supplies, like a scrub brush, store-bought mold killer and rubber gloves.

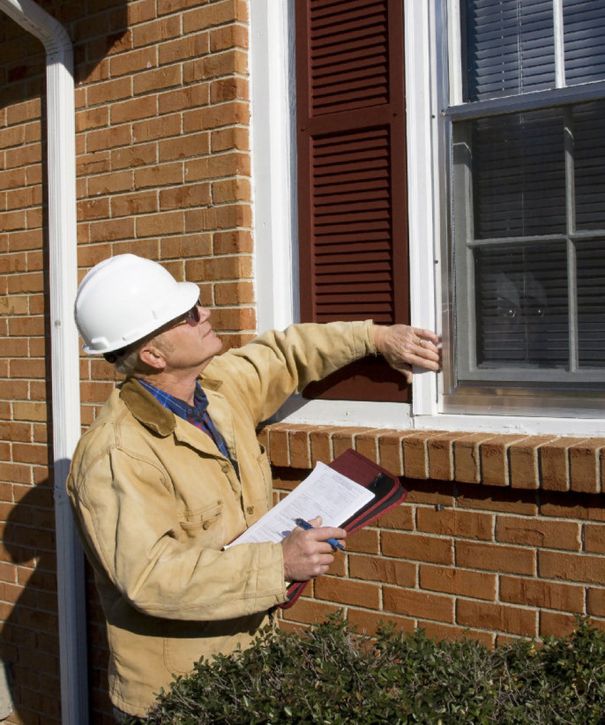
However, for large areas, you may be calling in a the bug guys. The remediation cost will be larger, but it’s worth it to ensure further damage is not done to your home. Mold remediation specialist will inspect ductwork, attic spaces, walls and even crawlspaces. The cost can average anywhere from $500 to $6,000 and is hard to identify until the entire scope of the infestation is considered.

A great thing to consider when purchasing the insurance that comes along with buying a home is some type of protection from mold. Discuss your options with an agent. That way, if a problem should arise within your home, then your insurance will help to at least partially offset the cost of mold removal.

Mold Removal and Remediation

It’s hard to imagine two better friends than mold and water. when paired together the two partners in crime make a dangerous team, ready to wreak havoc. If moisture has taken your home hostage, it’s time to consider the most effective mold-removal technique.

Even though you may have seen your grandmother or mother scrub mold away with a bit of bleach, experts say it’s not the best technique for mold remediation. Instead, it’s recommended that your take a few basic steps to remediate mold, starting with identifying the source of the excess moisture.

Once that’s done, clean up the water and eliminate the source. In order to nix a mold problem for good, it is important to remove mold with a biocide and disinfectant, like OxB biocide. Be sure to open windows and wear gloves, eye protection and a facemask when applying a biocide because of the harsh chemicals that are often used in these products.

How to Kill Mold

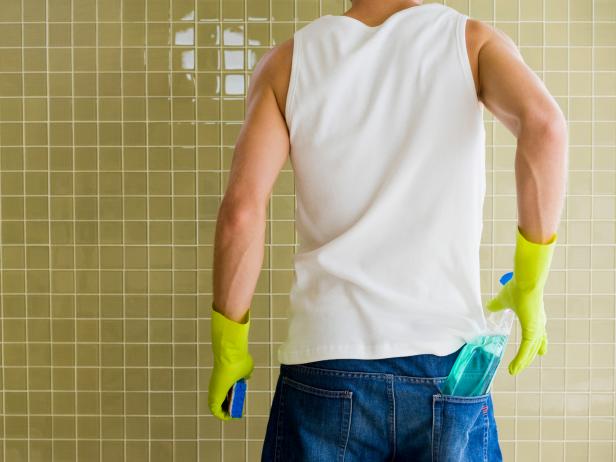
Killing mold is a dirty job, but the right tools can help you wipe it out for good. Check out these tips for using the best cleaners to solve your fungus problem.

Don’t worry, you’re not alone on this one: Almost every homeowner has to brush up on how to kill mold at some point in order to maintain the upkeep of his or her living space

I think we can all agree that when it comes to cleaning, we’re always looking for efficient alternatives to make the process easier. Try these cleaning tips and tricks to keep your home sparkling year-round.

The best method for killing mold is to nix it before it becomes hard to manage. Tiny black spots on the surface of flooring, walls or tile are the first sign of a type of mold better known as mildew. Clean up this type of mold with a scrub brush and a common household mildew spray.

If the infestation is large, then special precautions will be necessary. Be sure to protect yourself by wearing gloves, a facemask and eye protection. If the mold has infested an area that lies beneath a carpet, then begin by removing and discarding the carpet. Clean up the area using a wet-dry vacuum and then treat it with a biocide and disinfectant, like MoldSTAT or OxB biocide. Make any necessary repairs to the once-infected area and then allow it to completely dry. You may want to speed up the process by using a fan.

Mold Removal Products

Just like your favorite all-purpose cleaner, the right mold removal product for your home is key to ensuring a successful cleanup process

It’s tough to imagine there’s a perfect match for a mold killer and a homeowner. But when it comes to finding the product that will work best for your space, the right chemistry is a necessity.

If the first thing you notice about your infestation is tiny black spots that lie on the surface of an area, then you are most likely to deal with the much nicer cousin of mold — mildew. This problem can be easily nixed with a scrub brush and common household mildew spray that can be found in stores.

If the infestation is much larger, then special precautions will be necessary. Be sure to protect yourself by wearing gloves, a facemask and eye protection. Begin by removing any damaged materials, like rotted wood or ruined carpet. Treat the area with a biocide and disinfectant, like OxB biocide. Make any necessary repairs to the area and then allow it to completely dry. You may want speed up the process by using a fan

If you would prefer to use a cleaner that is a bit milder and the infestation is small, then consider a natural mold and mildew killer. Many homeowners have found success by filling a spray bottle with solutions containing natural solvents, like Borax, tea tree oil or vinegar.

Testing for Black Mold

Toxic black mold can be expensive to remove and even cause a range of health problems — so testing for black mold is an important first step if you think your home might have a black mold infestation.

Common areas to test for black mold are basements, crawlspaces, bathrooms and kitchens where moisture and condensation may gather regularly. A water source is the first requirement for mold growth, so any damp, humid areas of the home are often susceptible.

Sight and smell may give you a good indication of whether or not you have a black mold problem — black mold tends to have a strong, musty smell, and of course it displays a trademark black color. If you believe you have black mold growth in an area of your home after these initial inspections, you have two options: professional mold testing or do-it-yourself testing.

Professional mold testing companies will take samples of the air and any areas of mold growth, identify precisely what type of mold is present, and recommend next steps for remediation

If you go the DIY route while testing for black mold, you will need to purchase a mold testing kit from a hardware or home repair store, take samples of the air and affected areas yourself, and then send these in to a testing facility, which will report back as to which type of mold is present.

Water Damage May Be Lurking Beneath Your Home Inspection

The Must-Read Guide to Prepare for Your Home Inspection As a Buyer

Chances are you just signed a contract, which means the lender, realtor and lawyers are probably already approaching you with their list of requests. You need to get your current home on the market, you probably have a busy job and a few kiddos at home, and life has officially taken a turn to Crazytown!

But just because things are busy doesn’t mean you should neglect your obligatory home inspection. Not only can not giving attention to your home inspection impact the sale, but the results could cost you well into your future if you’re not prepared. This must-read guide gives you all of the facts you need to have for scheduling your home inspection, with helpful tips on how you can make the most of this tedious step … even amidst the chaos of buying and selling!  

What will a home inspection cost me?

A quality home inspection will cost you, the homebuyer, about $250-$400 depending on the size of the home. As much as these unexpected expenses seem endless during the moving process, this is one expense you do not want to skip. Hiring a quality inspector can make such a significant difference to highlight the good, bad and potentially dangerous components of your new home. You want to make sure you hire an inspector who is licensed and knowledgeable … even if that costs a few extra bucks. This tiny investment can save you thousands of dollars (and a lot of heartache) in the long run.

How do I find a quality inspector?

So you know you want to invest in a quality inspector, but you’re not really sure where to find one. You’re not alone! The best place to look is your realtor. If you really trust your realtor, she probably has some recommendations. Usually, realtors come to their buyers’ inspections, so chances are they have met a lot of inspectors and have seen which ones are thorough and which ones aren’t.

How long will the inspection take?

The time for an inspection varies based on the size of the home you are purchasing and how thorough your inspector is. On average, we suggest allowing for at least two hours, but on the long end, it’s usually not any longer than three hours.

Easy Ways to Beat the Inspection

Whether you’re buying or selling a house, the buyer’s home inspection tends to be the white knuckle part of the transaction. Before the home inspection buyers don’t have much control over the process, except for hiring a good Realtor and inspector. However, sellers often have a slew of options to make the home inspection go smoother.

GFCI ELECTRICAL OUTLETS

Be sure that all electrical outlets that require GFCI protection actually have protection. This is a safety concern that is always pointed out in inspection reports. Locations that should have functional GFCI outlets include: all outlets serving kitchen counter tops, bathrooms and wet bars. In addition outlets that are outside and in the garage should be GFCI protected.

SMOKE DETECTORS

Another safety issue that is relatively inexpensive to fix is properly located and functional smoke detectors. According to International Residential Code smoke detectors are required in each sleeping room, outside each separate sleeping area in the immediate vicinity of the bedrooms (usually an adjoining hallway), and on each additional story of the dwelling.

SEAL ROOF FASTENERS

Unsealed roof fasteners (nails or staples) on asphalt roofing can sound like a problem to a buyer. Sealing these fasteners is something that roofers have historically neglected to do when installing a roof. Solving this is amazingly easy and simple. All it requires is applying a dab of approved roofing sealant over the fasteners with a caulking gun

SEAL EXTERIOR

Spending about 1-2 hours walking around the exterior of your house with a tube of caulking can go a long way. Common areas that home inspectors point out as needing caulking include around windows, light fixtures, plumbing pipes and electrical panels.

things to look for in a home inspection

continue to receive complaints from readers about problems that they discover after closing their home purchase. Most complain about sellers who fail to disclose defects or home inspectors who fail to find them. The system is far from perfect. However, there are steps that buyers can take before and during a home inspection to protect their interests.

Check all electrical outlets to make sure that they work. Open windows, even in the winter, to make sure they are not stuck or painted shut.

Look under any area rug or bed and behind any picture to check for cracked tiles, stained carpets or walls. Lift anything on the kitchen counters to look for defects. Do any of the appliances show any rust? How old are they? If they are discontinued models, you will likely have to replace them if they break down because of the difficulty of finding replacement parts.

Start the dishwasher at the beginning of any home inspection. By the end, it should have gone through its entire cycle, without leaking. Put a thermometer inside the oven and turn it on to 350 degrees. After 10 minutes, check the temperature. Test stove burners.

Flush every toilet and see whether it stops running after it is filled. Check sinks, tubs and showers in the house. Is there proper water flow from each faucet and does everything drain properly?

Home Inspection Checklist For Buyers

The biggest question for home buyers is, or at least should be, what am I really buying? You can create your own home inspection checklist to help you with your shortlist of houses, though should be familiar with the basics of professional home inspections as well.

You should have a general idea of the condition of the property you are interested in buying before going on your home search. Are you looking for a fixer upper or a brand new model home complete with furnishings? Or are you willing to go with something in the middle, as long as the home only needs basic cosmetic upgrades?

When you first walk through a home you’ll be able to get a reasonably good idea of the overall condition. It is new, slightly outdated or begging for a historic renovation or teardown and rebuild?

The Need for a Home Inspection When Buying a Home

If you’ll be financing this home purchase with a mortgage loan, your lender will want to be protected with an appraisal, title search, insurances, and a mandatory professional home inspection. They want to know what they are really lending on and are getting as collateral, and what it is really worth

Even if you aren’t that picky or are fine taking a year to repair and renovate your new home, it is really important to know what you are getting into.

Why?

Discover flaws and urgent repairs

Identify items that may require building permits

Get peace of mind of what’s okay

Get an estimate to make needed repairs

Understand the true value of the property

Be alert to potential maintenance issues in the near future

Ways to Prepare Your House for Inspection Success

Congrats! You’ve received an offer on your home and agreed upon a sale price. The papers are signed, and the next step in the process is your home inspection. Chances are that a satisfactory report is the last major hurdle toward sale — so it’s important you put your best foot forward

I recently accompanied a home inspector on a 3-½ hour tour of a home we were considering purchasing, and these were some major points I picked up along the way. In general, it’s good to have intimate knowledge of your house’s nooks, crannies, and weak spots. The following items are things you should consider before the inspector visits your home, possibly bringing up major and minor issues that could cost you money off your sales price or worse — the deal itself.

Clear Access

Ensure access to critical areas of your house are clear. Think about your electrical box, furnace, hot water heater, and air conditioning units, attic door, and any other possible locked spaces. Also make it easier to access under sink plumbing work and back access, as well as any areas blocked off by storage, etc. If the inspector cannot gain access, he or she will be unable to include them in the report, raising questions for your buyers.

Banish Clogs

Go through your entire house to all the sinks drains — one by one — and run the water. If you notice a slow drain, you can try using store-bought clog removers (consult with staff to find the right one). For very slow or even totally clogged drains, call in a plumber. Same goes with any slow flow or blockage at the water source.

Replace Bulbs

Examine your attached light fixtures. Make sure all the light bulbs are working. Inspectors only get an overhead view and cannot determine if the bulb itself is out or if there’s possibly an underlying electrical problem.